


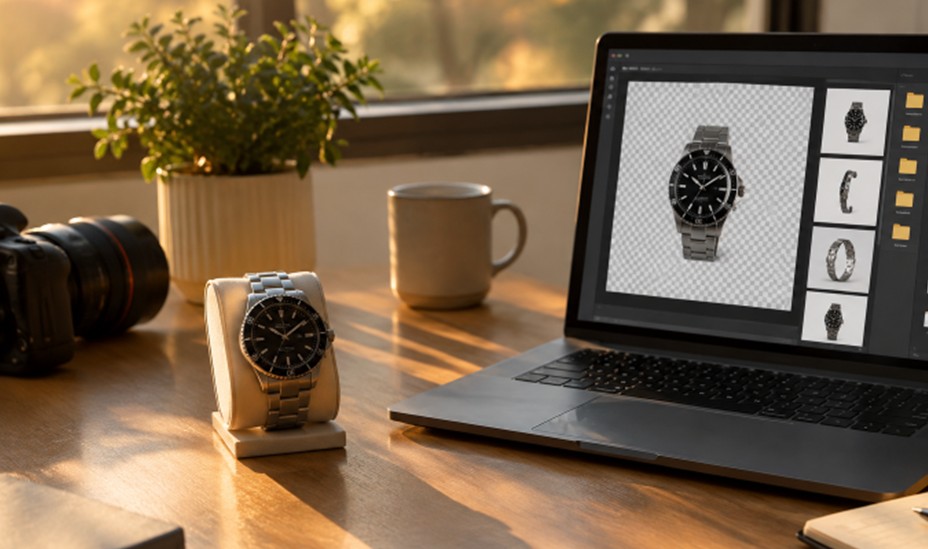
A reusable product image system turns a single product shoot into an organized collection of assets that can be adapted without rebuilding every design from scratch. Instead of treating each listing, campaign, and post as a separate project, teams can begin with a reliable master image and create approved variations from it.
For example, a clean product cutout made with a transparent background maker can become a marketplace image, an email hero, a seasonal banner, or a packaging mockup. The result is faster production, more consistent branding, and less risk of using an outdated or inaccurate photo.
- Why Product Images Need A Reusable System
One image rarely works everywhere. A product detail page may need close inspection, while a paid ad needs open space for copy, and a social post may need a vertical crop. A reusable system creates a dependable starting point for each format. A kitchen mixer, for instance, could have a white-background catalog image, a transparent cutout for promotions, a close-up of controls, and a lifestyle image that shows its countertop scale.
- Start With A Strong Source Photo
Good source photography reduces later correction. Use sharp focus, even lighting, and visible separation between the item and its surroundings. Glare, motion blur, heavy shadows, and a background similar to the product color can make selection work harder. Capture useful views, including front, side, back, and close-ups of materials, controls, labels, or texture. Retaining those source files matters because they provide a trustworthy reference when future edits are needed.
- Choose The Right Background For Each Use
Plain backgrounds help shoppers examine shape, color, and details. Transparent files allow the same product to sit on branded colors or campaign layouts. Lifestyle scenes can add scale and show how an item is used, but they should not obscure relevant features. Current visual-search experiments also make clear why a real product image must remain the foundation: AI-generated images within shopping search can help people explore styles, yet sellers still need accurate images of the actual item available for purchase.
- Understand Transparency And File Formats
Transparency means background pixels are absent or partially visible rather than filled with a solid color. It is a property of the exported file, not simply the way an image appears in a preview. PNG and WebP can preserve transparency. JPG cannot. Keep a high-quality master, then export the delivery format required by each channel. Before publishing, place the cutout on white, dark, and colored backgrounds to confirm that the alpha channel survived export.
- Build A Clean Cutout Without Losing Details
Inspect cutouts at 100 percent zoom, especially around mesh, glass, thin straps, handles, hair-like fibers, and soft shadows. A hard edge can suit a solid object, but partially transparent edges may better preserve delicate materials. Watch for white or dark halos, jagged curved lines, missing holes inside handles, reflected background colors on glossy surfaces, and shadows that appear detached from the product.
- Create A Multi-Channel Asset Set
Build versions from the approved master rather than repeatedly editing a compressed file. Prepare distinct exports for product detail pages, marketplace listings, email campaigns, paid ads, social media, packaging mockups, sales presentations, and seasonal landing pages. Each use may require a different canvas, crop, resolution, or amount of empty space. Keep the original master separate from compressed delivery files so future updates begin with the best available image.
- Add Accessibility From The Start
Useful alt text describes what matters visually without copying nearby product copy word for word. “Blue ceramic mug with a rounded handle and white speckled glaze” is more helpful than “mug” or a string of keywords. Also, check that text overlays have enough contrast, remain readable on smaller screens, and do not cover the product’s important features.
- Use AI Without Sacrificing Accuracy
AI can assist with background changes, resizing, layout variations, and scene development. However, editing a real photograph is different from generating a new interpretation of a product. Review logos, labels, buttons, proportions, finishes, colors, patterns, and accessories before approval. Do not publish an image that adds a feature the buyer will not receive. As visual presentation evolves, recent packaging research also reinforces the value of making product presentation easy for people to understand.
- Test Every Image Before Publishing
- Check the asset on white, dark, and medium-color backgrounds.
- Inspect outer edges and enclosed spaces such as straps and handles.
- Confirm that labels, markings, and visible details match the real product.
- Review the crop and text treatment on a mobile screen.
- Verify that the final file format suits the destination channel.
Clear visuals support customer confidence because shoppers can better judge what they are viewing before they commit to a purchase.
- Organize Files So Teams Can Find Them
Use consistent filenames that include the product name, color, view, size, and channel where useful. Separate master files, transparent cutouts, marketplace exports, and campaign versions. Maintain a simple record of approved files and revision dates. This prevents duplicate work and makes it easier to remove older images when a product changes.
- Common Mistakes To Avoid
- Saving a transparent cutout as a JPG.
- Testing only on a white preview background.
- Using one crop for every platform.
- Removing shadows that communicate shape or scale.
- Adding artificial details that the real item does not have.
- Using vague alt text or keyword-heavy descriptions.
- Compressing files until small details become unclear.
- A Simple Workflow
- Capture a clear source photo from useful angles.
- Review it for blur, glare, and missing details.
- Create and inspect a clean subject layer.
- Save a high-quality master file.
- Export channel-specific versions with accurate alt text and filenames.
- Test across backgrounds, screen sizes, and formats.
- Have a second person confirm accuracy before publishing.
- Store approved assets in a shared, structured library.
Conclusion
A reusable product image system gives e-commerce teams speed without sacrificing clarity. Start with a strong source photo, preserve real product details, create flexible versions for each channel, and keep every approved asset organized. With careful quality checks and human review, a single product shoot can support a much wider range of honest, effective visual content.
